

Years back, I attempted to create a trapped bead on a key. Being self taught, the initial project was full of valuable lessons. Here are a few gems of knowledge for flameworkers attempting to create a trapped bead on an antique key.
Key Jargon for Reference:
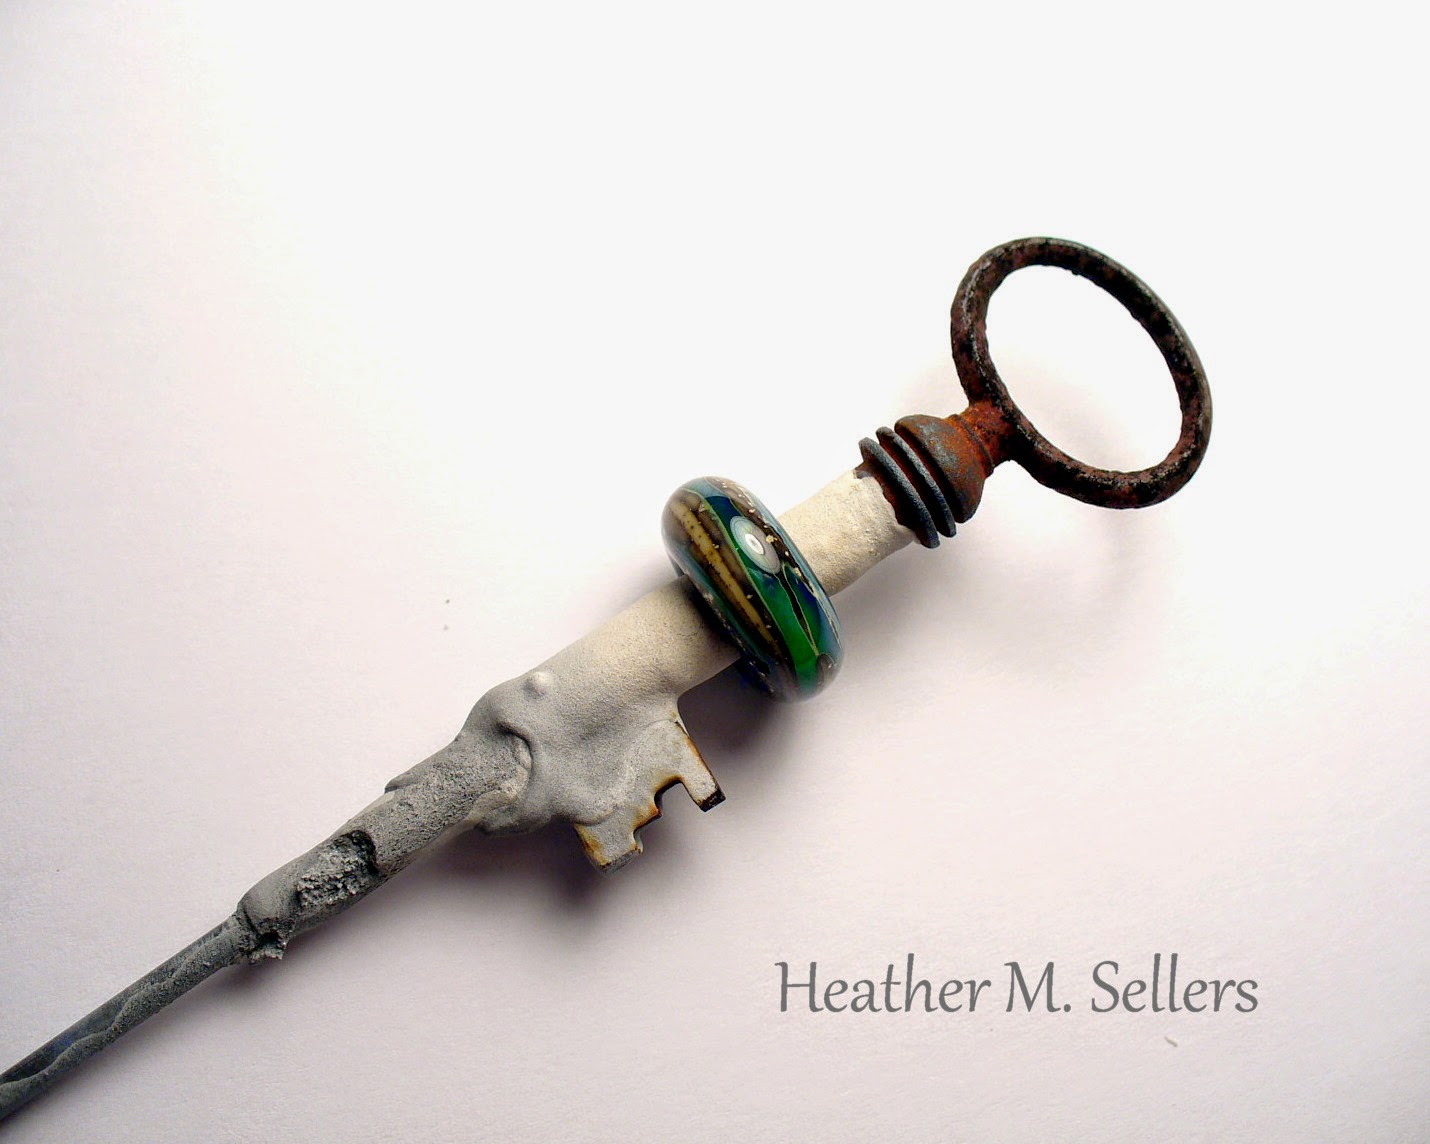
"Bow" - the part of the key a person turns or handles.
"Bit" - the part of the key which operates the lock.
"Shank" - the part of the key connecting the bit and bow.
What to look for when buying a key:


- Shank: The shank design is very important. A hollow-barrel shank can receive a heavily dipped mandrel. Try to avoid trapping bubbles in the bead release. During heating, the trapped air expands and will "blow" the dried release directly out the end of the key barrel. The sound and blast of hot air is very startling. I suggest gently warming the barrel and wet bead release during the drying process to let the air expand and bubble out the end of the shank, near the mandrel.
- Patina: The patina helps to indicate the key's make up. A dark patina usually indicates the key is made from cast iron. Newer keys made of nickle/zinc alloys are not recommended for flameworking, and can shatter under the intense heat of a torch.
- Bow: The bow gives a clue to the age of the key. Circa 1800-1900, the bow of keys were commonly curved and smooth. Bows can feature designs such as trifoils, bishop's miters and crosses.
- Size: Smaller keys are easier to balance on a mandrel. The weight of larger keys can quickly wear upon a flameworker's fingers and wrist. Keys between 1-2 inches are recommended.
- Quality: The craftsmanship of the key will be reflected in the final project. I tend to look for keys with unique bits and bows. Some keys have tapered shanks and added fluting.

Note: A heavy coating will allow the bead to later spin freely on the key. A light coating will keep the bead trapped in place on the key without movement. I suggest using a gray Sludge Plus, Dip & Go.
Upon drying, the key is ready for the bead of your choice! After creating a bead on the key, place the "key" mandrel in a 950'F kiln to anneal.

Happy Beading,
Heather
No comments:
Post a Comment